

Thanksgiving is around the corner! can you believe it! the year past sooooo fast and now I have to start on my Christmas shopping and pictures for the cards, tree, ornaments, nativity, OMG. Ok don't panic
lets concentrate on Thanksgiving for now ;) Everybody likes dessert, specially the little ones, that's why I want to show you how to make this Pumpkin toppers. They are so easy to make, you can even make them with your kids. Will be a great way to keep them busy :)
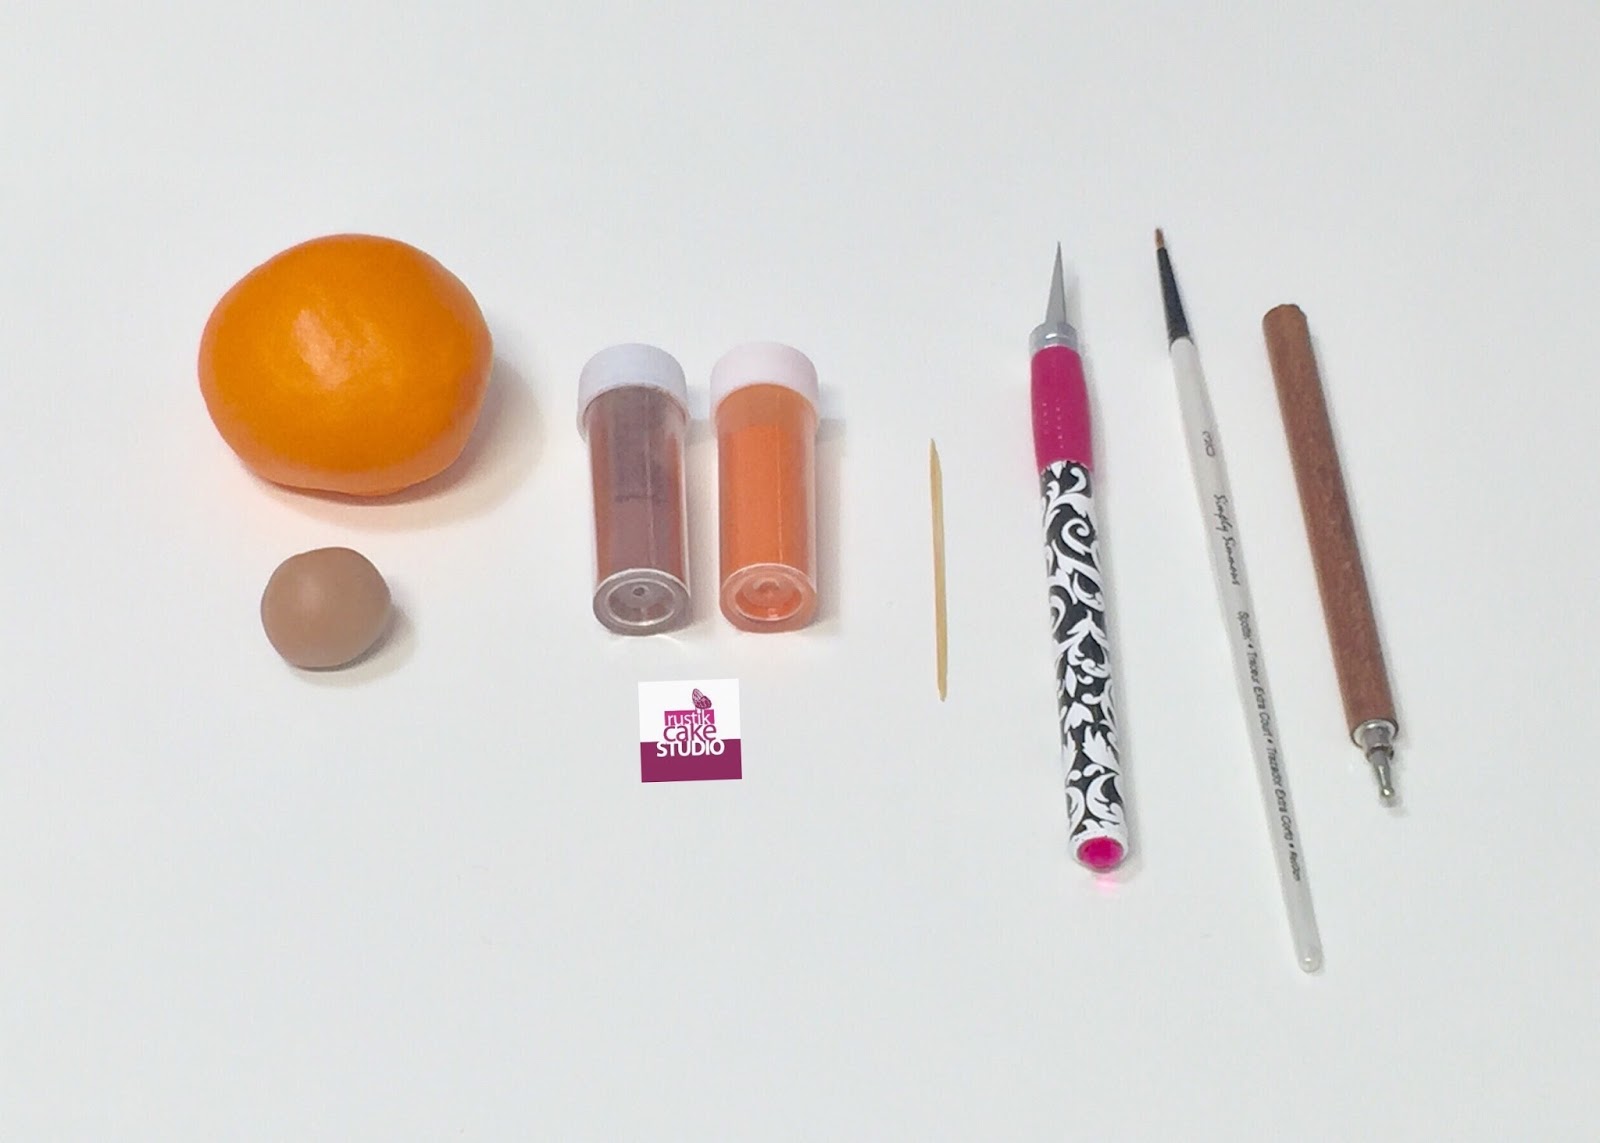
You don't need much for this pumpkins. Just a couple of tool and some fondant and you are good to go.
- Orange fondant
- brown fondant
- orange petal dust
- brown petal dust
- a toothpick
- knife
- a paint brush
- small ball tool


Next, with the help of the toothpick make incisions around the pumpkin from bottom to top. On the top, make a hole with the help of the ball tool. Set aside because we will be working on the stem.

With the brown fondant make a long snake and then fold it in half. Stick the ends together and twist.


Use the orange edible dust for the pumpkin and the brown for the stem. If you want to make it more fancy use a little bit of brown on the pumpkin as well or even do different shapes of pumpkins. And you are done ! Ready to decorate your cupcakes ! Enjoy !

No comments:
Post a Comment